Connecting a Laravel application to AWS IoT Core over MQTT - Part 1
AWS IoT core provides a suite of features that makes connecting IoT devices to the cloud and managing them a breeze. An MQTT broker is one of the services offered by AWS IoT Core. In this 2-part series, I will go over creating an IoT device or thing in AWS parlance on IoT core and how a Laravel application can connect to IoT core to publish and receive messages.
Unlike other MQTT brokers such as Mosquitto, IoT Core requires that you define the topics that devices would be allowed to subscribe, publish messages to and receive data from. This is called a policy. A policy is associated with a thing and gives it the permissions defined in the policy document. We will use two topics in our policy. A topic to send commands to the device and another to receive data from the device.
One thing to note is that the AWS IoT core has a different notation when specifying wildcards in your MQTT topic. You can read more about this here. To summarise, you should use * and ? for wildcards instead of + and #.
Before connecting to IoT Core over MQTT, we must create a policy and a thing.
Create a policy
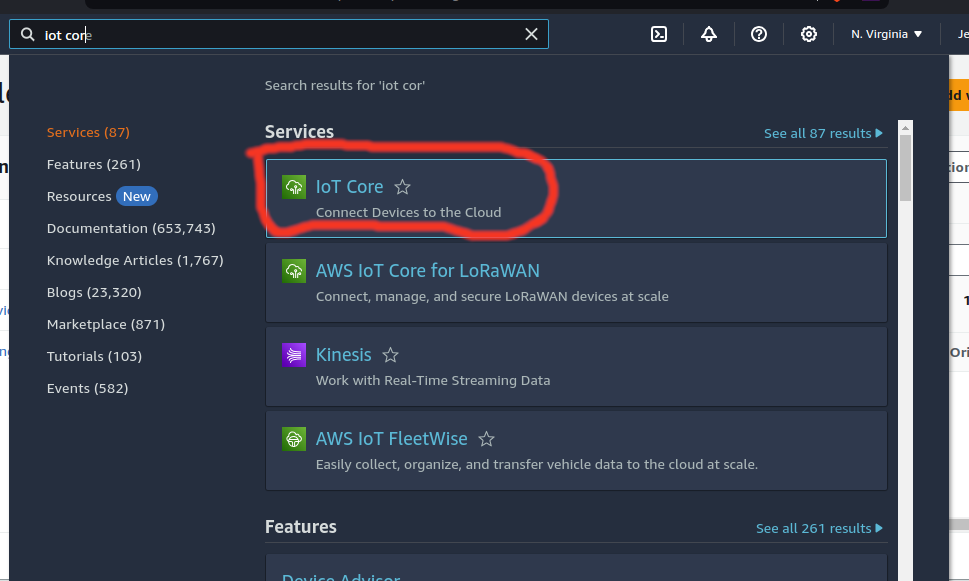
- Log in to your AWS console and search for IoT Core in the search bar at the top right.
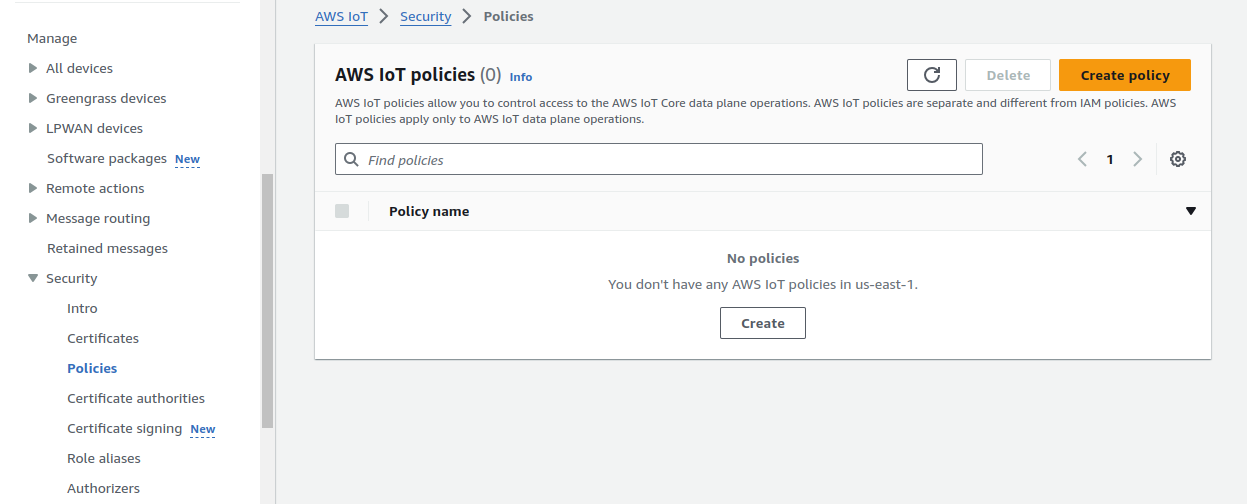
- Navigate to Manage > Security > Policies and click the Create Policy button.
Give your policy a name. I will be using DevicePolicy. In the policy statement section below, select the JSON view and paste the JSON below into the text box.
 {
   "Version": "2012-10-17",
   "Statement": [
     {
       "Effect": "Allow",
       "Action": "iot:Connect",
       "Resource": "arn:aws:iot:us-east-1:*:client/${iot:Connection.Thing.ThingName}"
     },
     {
       "Effect": "Allow",
       "Action": "iot:Subscribe",
       "Resource": "arn:aws:iot:us-east-1:*:topicfilter/devices/*/status"
     },
     {
       "Effect": "Allow",
       "Action": "iot:Publish",
       "Resource": "arn:aws:iot:us-east-1:*:topic/devices/*/query"
     },
     {
       "Effect": "Allow",
       "Action": "iot:Receive",
       "Resource": "arn:aws:iot:us-east-1:*:topic/devices/*/status"
     }
   ]
 }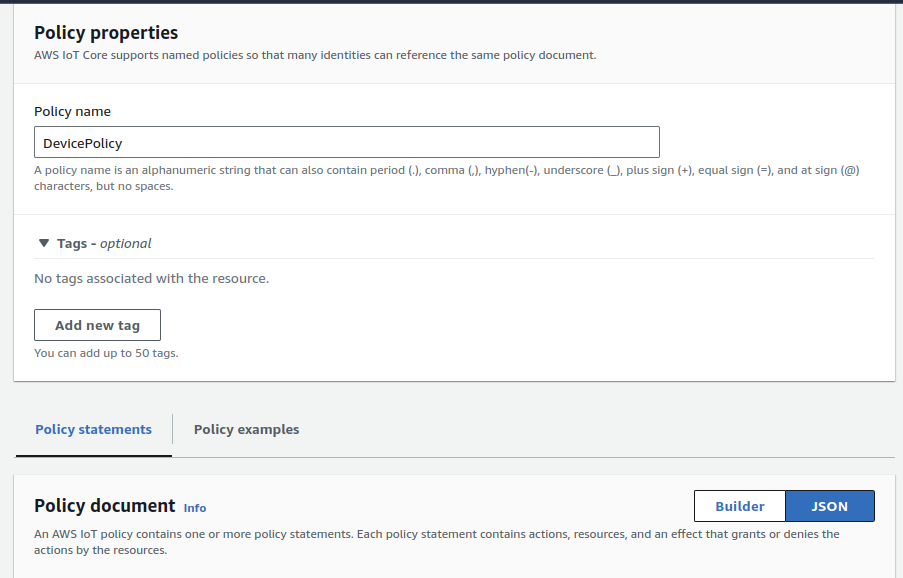

The
iot:Connectaction allows devices to connect to the MQTT broker. Two devices with the same client ID cannot connect to the broker simultaneously. The variableiot:Connection.Thing.ThingNameis a placeholder for the client ID. You must use the thing name when connecting to the MQTT broker. You can find a breakdown of all the IoT core policy actions here and example policies here.Click on the Create button on your bottom left to save the policy.
If you ever encounter the error The action failed because the input is not valid. Policy cannot be created - size exceeds hard limit (2048), which means you have too many topics. You have to consolidate some of your topics into one or create an extra policy to handle some of your topics.
Create a thing
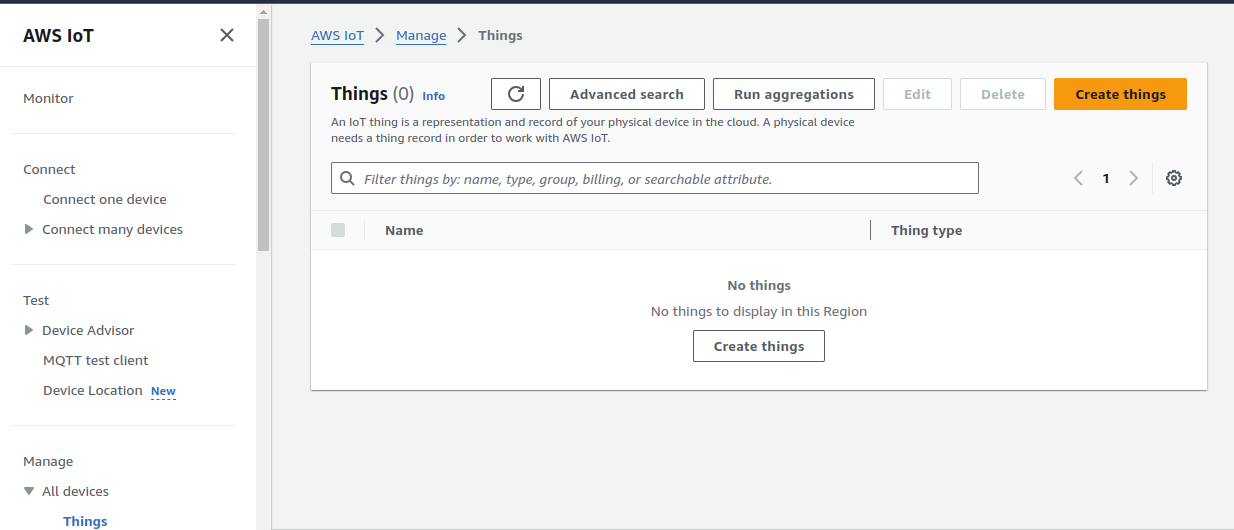
Navigate to Manage > All Devices > Things and click the Create Things button.
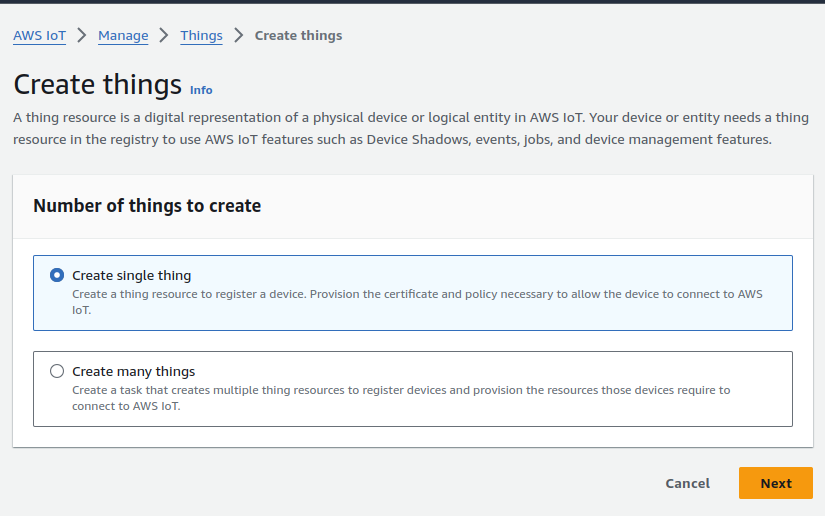
Select Create Single Thing and click on the Next button.
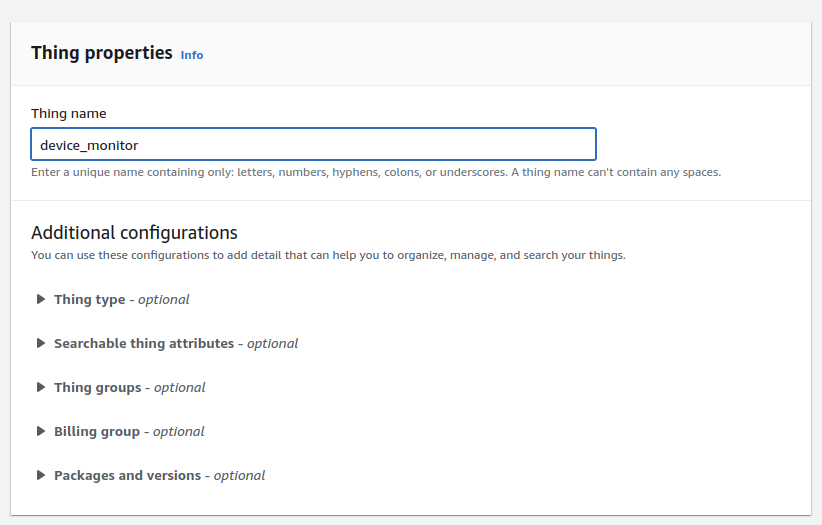
Give the thing a name. I will be using device_monitor. Then, scroll down and click on the Next button.
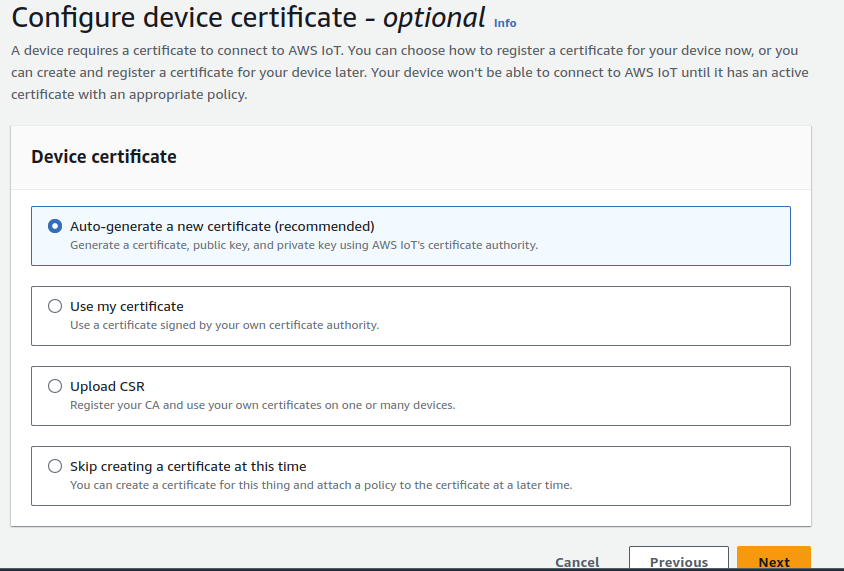
Select Auto-generate a new certificate and click on the Next button.
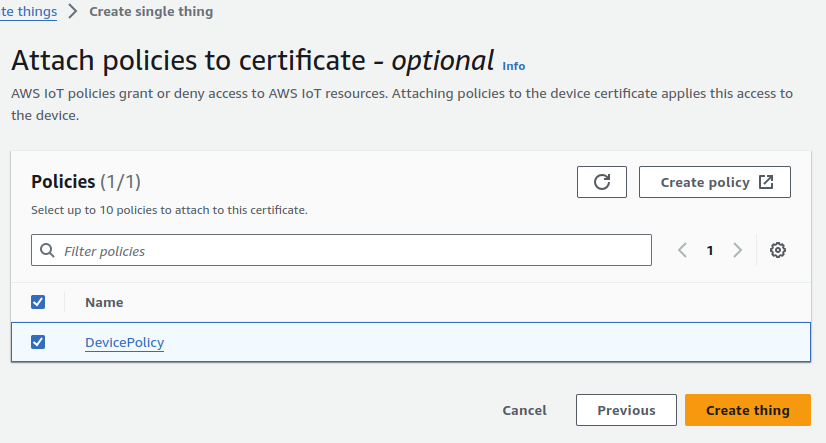
Select DevicePolicy from the list of policies and click on the Create Thing button.
Download the device certificate, public key, private key, and the Amazon Root Certificate CA 1
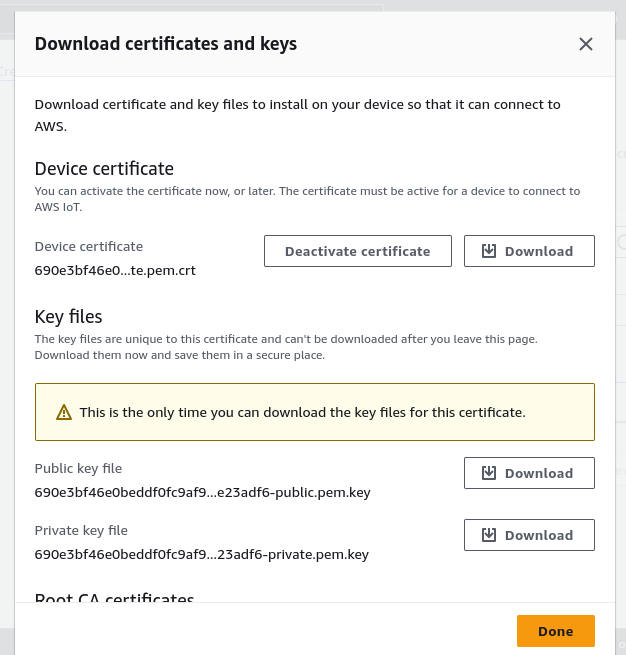
You must download the device certificates at this step. You will not be able to download them after you close the pop-up.
In Part 2, I go over how to use the device certificates to connect a laravel application to AWS IoT core over MQTT.